Showing posts with label St. Patricks Day. Show all posts

Sunday, March 15, 2020

DIY Rainbow Balloon Art

Hello everyone!
I think we could all use a little more rainbows in our life with all of the craziness going on in the world.
And with St. Patrick's Day just a few days away I am here to make that happen with this fun DIY rainbow balloon art!
We currently have this set up in our house making it very festive.
Plus, it makes us both happy!


You will need:
Balloon Pump, Optional
Tape


Decide on the design of your rainbow.
I wanted a full rainbow with white balloon clouds on either end.
You could do a full rainbow like me, or do half a rainbow.
It's up to you!
Blow up your twisty balloons.
I decided three balloons in each color would work for me.
I'd highly recommend a balloon pump when working with this many balloons. 
The twisty balloons don't have a lip like normal balloons so, I just taped the ends to keep them from deflating. 
Once you have your balloons inflated, organize them into your desired shape.
I started from the color red down.
Place pieces of rolled tape onto the back of the balloons and stick them on the wall.
Once the balloons are organized into your rainbow, blow up your white balloons and tie closed.
Tape the white balloons to the end of your rainbow to imitate clouds.
I used 6 balloons at each end.
Enjoy!


I will be honest, this took more work than I originally thought...
 But it was worth it!
It's such a fun statement piece for any celebration.
And now I am a balloon wizard for future balloon crafts!
Have you ever made a balloon statement piece?


All my love,
Autumn

Sunday, March 8, 2020

How We Improvise St. Patrick's Day Sugar Cookies

Hello everyone!
St. Patrick's Day is next week.
I am going, to be honest.
I never know what to do for that holiday...
Around here making sugar cookies is our go-to for any occasion but, we don't have any festive cookie cutters.
We have Wilton's 100 pack of cookie cutters so, I try not to purchase more unless absolutely necessary!
Erik and I decided to get creative and make St. Patrick's Day shaped cookies with cookie cutters we already had on hand. 
First things first, you're going to need some cookie dough.
We love making ours from scratch but, store-bought is also good.
Below is my grandma's famous sugar cookie recipe that we always use. 


You will need:
3 Cups of Flour
1 Cup of Sugar
1 Teaspoon of Salt
1 Cup of Shortening
1 Egg
1 Teaspoon of Vanilla
3/4 Cup of Whole Milk

Preheat oven to 375o.
In a large bowl, mix the flour, sugar, salt, and shortening until a crumbly mixture forms.
Add in the egg, vanilla, and milk and mix until well combined.
Roll dough out on a floured surface.
Cut into the following shapes.


Clover Cookies


Take a heart-shaped cookie cutter and cut out four hearts of the same size.


Place the pointed ends of the hearts together to form a clover.


Mold the dough together to help it keep its shape.


Rainbow Cookies


Take a large circle cookie cutter and cut a circle from the dough.


With a knife, cut off the bottom 1/4 of the circle and discard.


Using a smaller circle cookie cutter, cut half a circle on the straight edge of your circle half.


Boom!
Rainbow cookie.


Horseshoe Cookies


Take a U cookie cutter and cut out a U from the dough.
Flip the U upside-down.


With a knife, cut two small equal-sized rectangles out of the dough and place at the bottom of each side of the U.


Mold the dough together to help it keep its shape.


Pot O' Gold Cookies


Using a pumpkin cookie cutter cut out a pumpkin shape from the dough.
Take a scalloped circle cookie cutter and cut out a circle from the dough.


Using the bottom of the pumpkin cookie cutter, cut 1/4 off the top of the pumpkin cookie.
Using the bottom of the pumpkin cookie cutter, cut 1/4 off the top of the scalloped circle.


Take the top of the scalloped circle cookie and place it onto the bottom of the pumpkin cookie.


Mold the dough together to help it keep its shape.


Word and Date Cookies


This is something Erik and I do for all the holidays.
We use the number and letter cookie cutters to fit the theme.
For St. Patrick's Day we went with the word lucky and the number 17.


Place onto an ungreased cookie sheet.
Bake for 8 - 10 minutes.
Let cool.
Decorate.
We went with buttercream frosting in festive colors and a few sprinkles.
Enjoy!


We love to whip up a batch of Grandma's cookies whenever we can and creating these cookies with items we already had on hand kept if fun and relaxed.
What cookie shape is your favorite?


All my love,
Autumn

Saturday, March 16, 2019

How To Make A Rainbow Piñata Cake

Hello everyone!
St. Patrick's Day is this weekend and I have the perfect cake to help you celebrate.
A rainbow piñata cake!
A piñata cake is a cake that is filled with a surprise center.
And what do you find at the end of the rainbow?
A pot of gold!
So, I decided to fill mine with chocolate gold coins.


I wanted to make a white cake recipe so that the colors would be nice and vibrant..
Who wants a dull rainbow?
Not me...
My favorite white cake recipe is from Rosanna Pansino's Cookbook.
It has a touch of almond in it and it might be my favorite thing ever...


You will need:
2 Cups Of Flour
2 Teaspoons of Baking Powder
1/8 a Teaspoon of Salt
1 Stick of Salted Butter, Room Temperature
1/4 a Cup of Vegetable Shortening
1 and 1/2 Cups of Sugar
2 Teaspoons of Vanilla
1/4 a Teaspoon of Almond Extract
5 Egg Whites
3/4 a Cup of Whole Milk
White Buttercream Frosting
Food Dye 
Gold Coins


Preheat oven to 350o.
In a medium bowl, whisk together the flour, baking powder and salt.
Set aside.
In a large bowl, beat the butter and shortening until soft.
Add the sugar and beat until light and fluffy.
Mix in the vanilla and almond extract.
Add the egg whites one at a time beating well after each addition.
Alternate adding in your dry mixture and milk to the butter mixture, beginning and ending with the flour mixture, and mixing until just combined after each addition.
Divide your white cake batter evenly into six bowls.
Color the frosting in each bowl a different color of the rainbow.
One red, one orange, one yellow, one green, one blue, one purple.


Layer the bottom of 6, 6 inch round cake pans with parchment paper and grease.
Pour each batter into a separate pan.
Bake for 20 minutes or until a toothpick inserted into the middle comes out clean.
Let cakes cool.
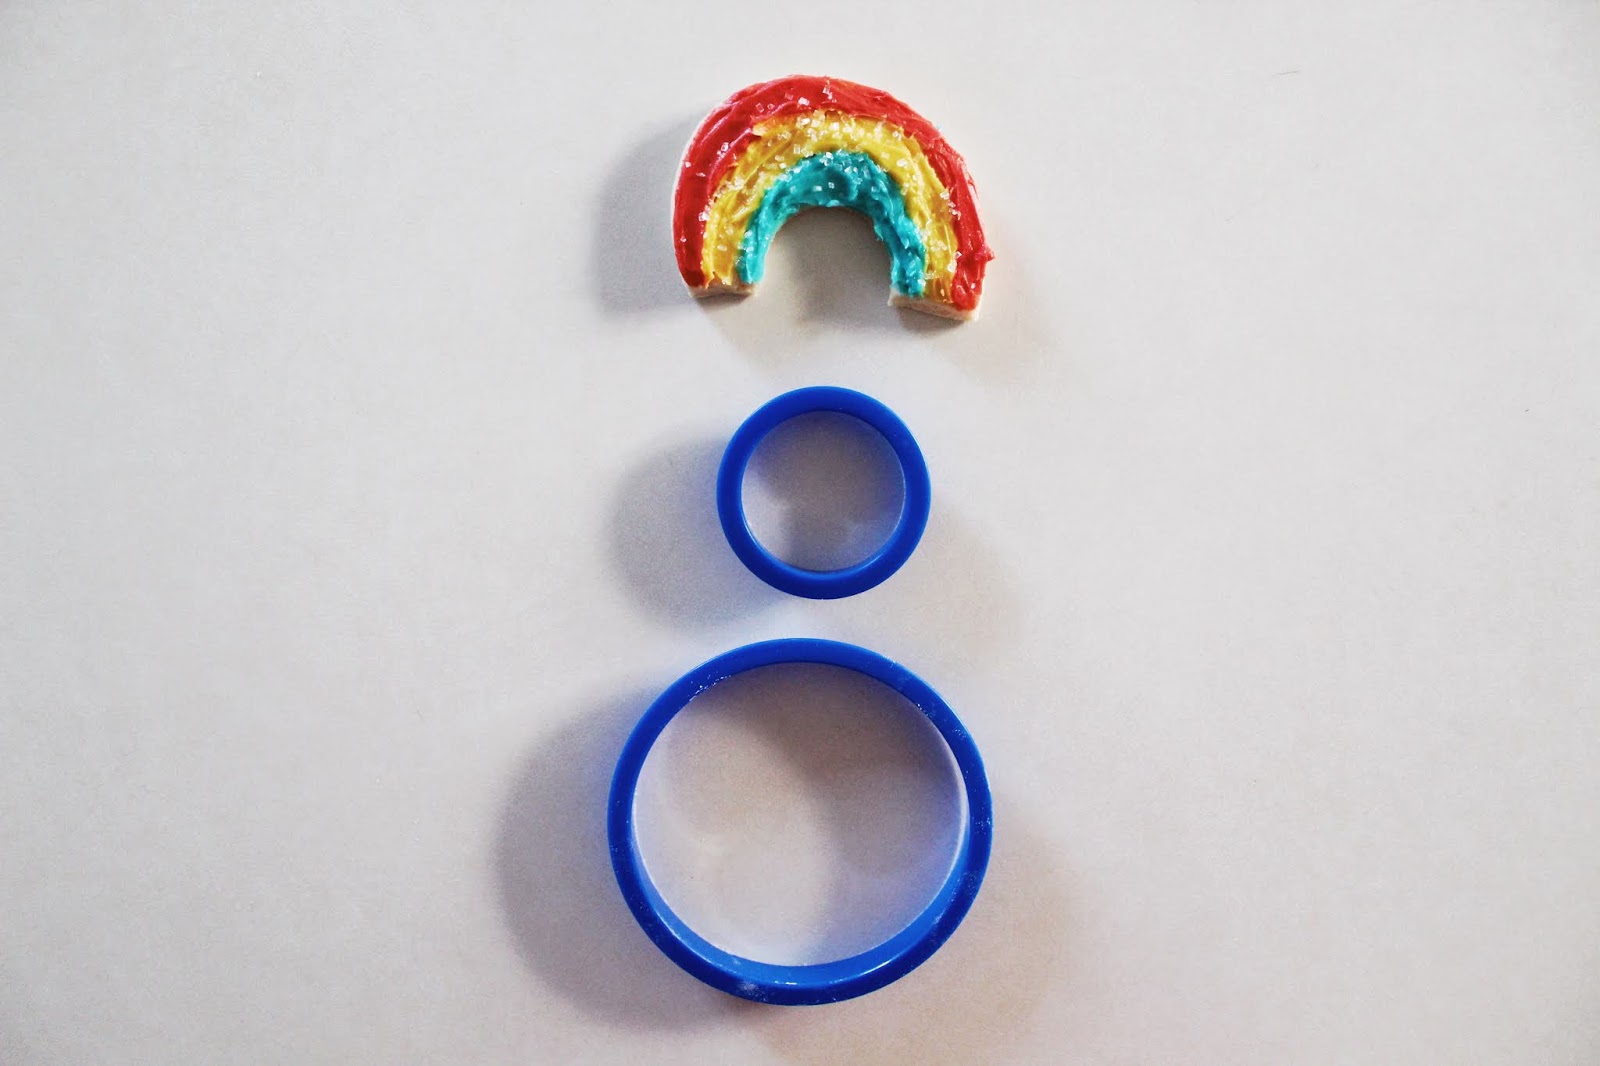
With a 2 inch round cookie cutter cut a circle in the middle of the orange, yellow, green and blue cake layers.
Leave the red (top) layer and purple (bottom) layer solid. 
Place a small dot of buttercream frosting in the middle of your serving tray.
Place the solid purple cake layer on top of the dot of frosting.
This will help the cake stay in place.
Add a thin layer of frosting around the edge of the purple cake and smooth.
Place the blue hallow layer on top.
Add a thin layer of frosting around the edges of the cake and smooth.
Place the green hallow layer on top and repeat till you reach the orange layer.


Before you place your red (top) layer on the cake fill the hallow cake center with your gold coins.


Once the center is nice and full add your top layer.


Complete frosting the entire cake.
I wanted to add some festive decorations to the outside of the cake as a preview of what was inside.


I added a dot border around the top of the cake.
Then I added some round rainbow sprinkles on top of the border and around the bottom of the cake.


Serve and enjoy your rainbow surprise!


This cake was so fun to make!
I love that it appears a little plain on the outside but then turns into not only a rainbow cake but a rainbow cake with a golden surprise.


This is the perfect cake to make and enjoy this St. Patricks Day (or any) weekend.
What would you put inside your rainbow piñata cake?


All my love,
Autumn

Saturday, March 9, 2019

DIY Four Leaf Clover Balloons

Hello everyone!
I don't know about you, but when it comes to holidays, St. Patrick's Day is a hard one for us to figure out.
Erik and I don't drink and we don't have kids to catch leprechauns with so, when it comes to the big day we usually don't have much planned. 
We have landed on eating a themed meal and festive decorations.
Today I wanted to show you a quick and easy decoration that we like to put up.
Four leaf clover balloons!


You will need:
Green Heart Shaped Balloons, Four Per Clover
A Pump, Optional
Tape
Gold Ribbon, Optional
Scissors


Blow up your balloons. 
I didn't want to use helium as I wanted them to stick to a wall. 
If you want to use them as one big balloon feel free to use helium.
I used an air pump.
Once all of your balloons are blown up, arrange four of them into the shape of a four leaf clover, placing the points of the heart next to each other.


For our balloons I used metallic mylar heart shaped balloons.
I liked that they weren't see through and provided a deep clover green.
Because I used mylar balloons they didn't have the usual lip that latex balloons have.
If you use latex balloons you can easily tie the four balloons together with the lips.
Since my balloons didn't have lips I taped them to the wall individually.
Apply a few pieces of rolled tape to the back of the balloons and stick them to the wall.
Continue till you have placed all four balloons into the shape of a four leaf clover.
If you use latex and have tied them together apply a few pieces of rolled tape to the back of each balloon and put them all up at the same time. 
I felt that putting the balloons on an angle made the clovers look more realistic.


The clovers are adorable on there own but, I felt ours needed a little something more.
And you know I can't get enough gold... 
I took a few pieces of gold curl ribbon and hung them from the center of the balloon to create the look of a stem.
I think it was the perfect St. Patricks Day touch!


These clovers are so quick and easy to create, but add a dramatic affect with their 3D look.
And if you use mylar balloons like we did, treat them carefully and they are reusable!
How do you decorate for St. Patrick's Day?


All my love,
Autumn